Answer Front-end, Back-end, Full-stack, Mobile Developer, and Generative AI Assessments
Last updated: August 25, 2026
HackerRank assessments for Front-end, Back-end, Full-stack, Mobile developer, and Generative AI roles offer the flexibility to use the HackerRank-provided VS Code IDE to solve project-type problems. However, we recommend using the HackerRank IDE for a seamless and integrated testing experience.
Code Repositories and Project questions
Code Repositories and Project questions are multi-file, real-world coding problems that simulate actual development work. They offer a more realistic experience compared to traditional Coding questions on the platform.
The table below compares regular Coding questions with Code Repositories and Project Questions.
Feature | Regular Coding Questions | Code Repositories / Project Questions |
File Structure | Single file | Multi-file (mimics real project layout) |
Environment | Single editor window | Full IDE-like environment |
Assessment | Solves a specific coding problem | Tests functional implementation and debugging skills |
Code Repository questions
A Code Repository is a reusable codebase (For example, React application, Express server) that contains multiple project-based questions. It serves as the base scaffold or application template for real-world coding tasks.
Each project includes one or more tasks. You can use the same repository to complete all tasks. For example:
Task 1: Fix a bug in
UserService.jsTask 2: Add a feature in
Dashboard.jsx
Project questions
Project questions are a question type on the HackerRank platform that allows candidates to work in a real-world development environment. These questions simulate job-related tasks, such as building a feature, fixing a bug, or improving an existing codebase.
Why choose the HackerRank IDE?
The HackerRank IDE allows you to:
Access built-in features offered by the latest VS Code: The HackerRank IDE includes built-in tools and features specifically designed for assessments, such as IntelliSense, making it easier to run tests and view real-time changes.
Simplify the setup process: You do not need to configure a local environment or manage dependencies. Everything is preconfigured.
Seamless Integration: The IDE saves your code automatically and lets you submit your solution without the hassle of managing local repositories.
Prerequisites for a project test
To ensure a smooth test experience, make sure you meet the following requirements:
Latest browser versions: Use the latest version of Chrome, Firefox, or Edge for optimal performance.
Disable browser extensions: Disable all browser extensions that might interfere with the test environment.
Enable third-party cookies: Allow third-party cookies in your browser settings to ensure the editor loads successfully.
Network requirement: Your network should meet the following conditions to ensure a smooth experience.
Category | VSCode (RTT in ms) | JupyterLab (RTT in ms) | Network Speed (Mbps) |
Good | 250 | 100 | 10 Mbps (4G) |
Average | 250 - 500 | 100 - 250 | 1 Mbps (3G) |
Bad | 500 - 1000 | 250 - 500 | 0.5 Mbps (2G) |
Very Bad (warning popup is shown) | >1000 | >500 | 0.5 Mbps (2G) |
For more information on the necessary configurations, refer to the Cookie settings for HTML, CSS, JavaScript, and Projects Questions.
Answering project assessments
To answer a project assessment:
Open your invitation email and click Start Test to launch the assessment portal.
Read the instructions carefully. Try the sample test to get familiar with the interface and tools.
Click Continue.
Wait for the environment to initialize. This may take up to 2 minutes.
Click Start Test after the setup is complete.
Using the HackerRank IDE
The following details help you use the HackerRank IDE effectively:
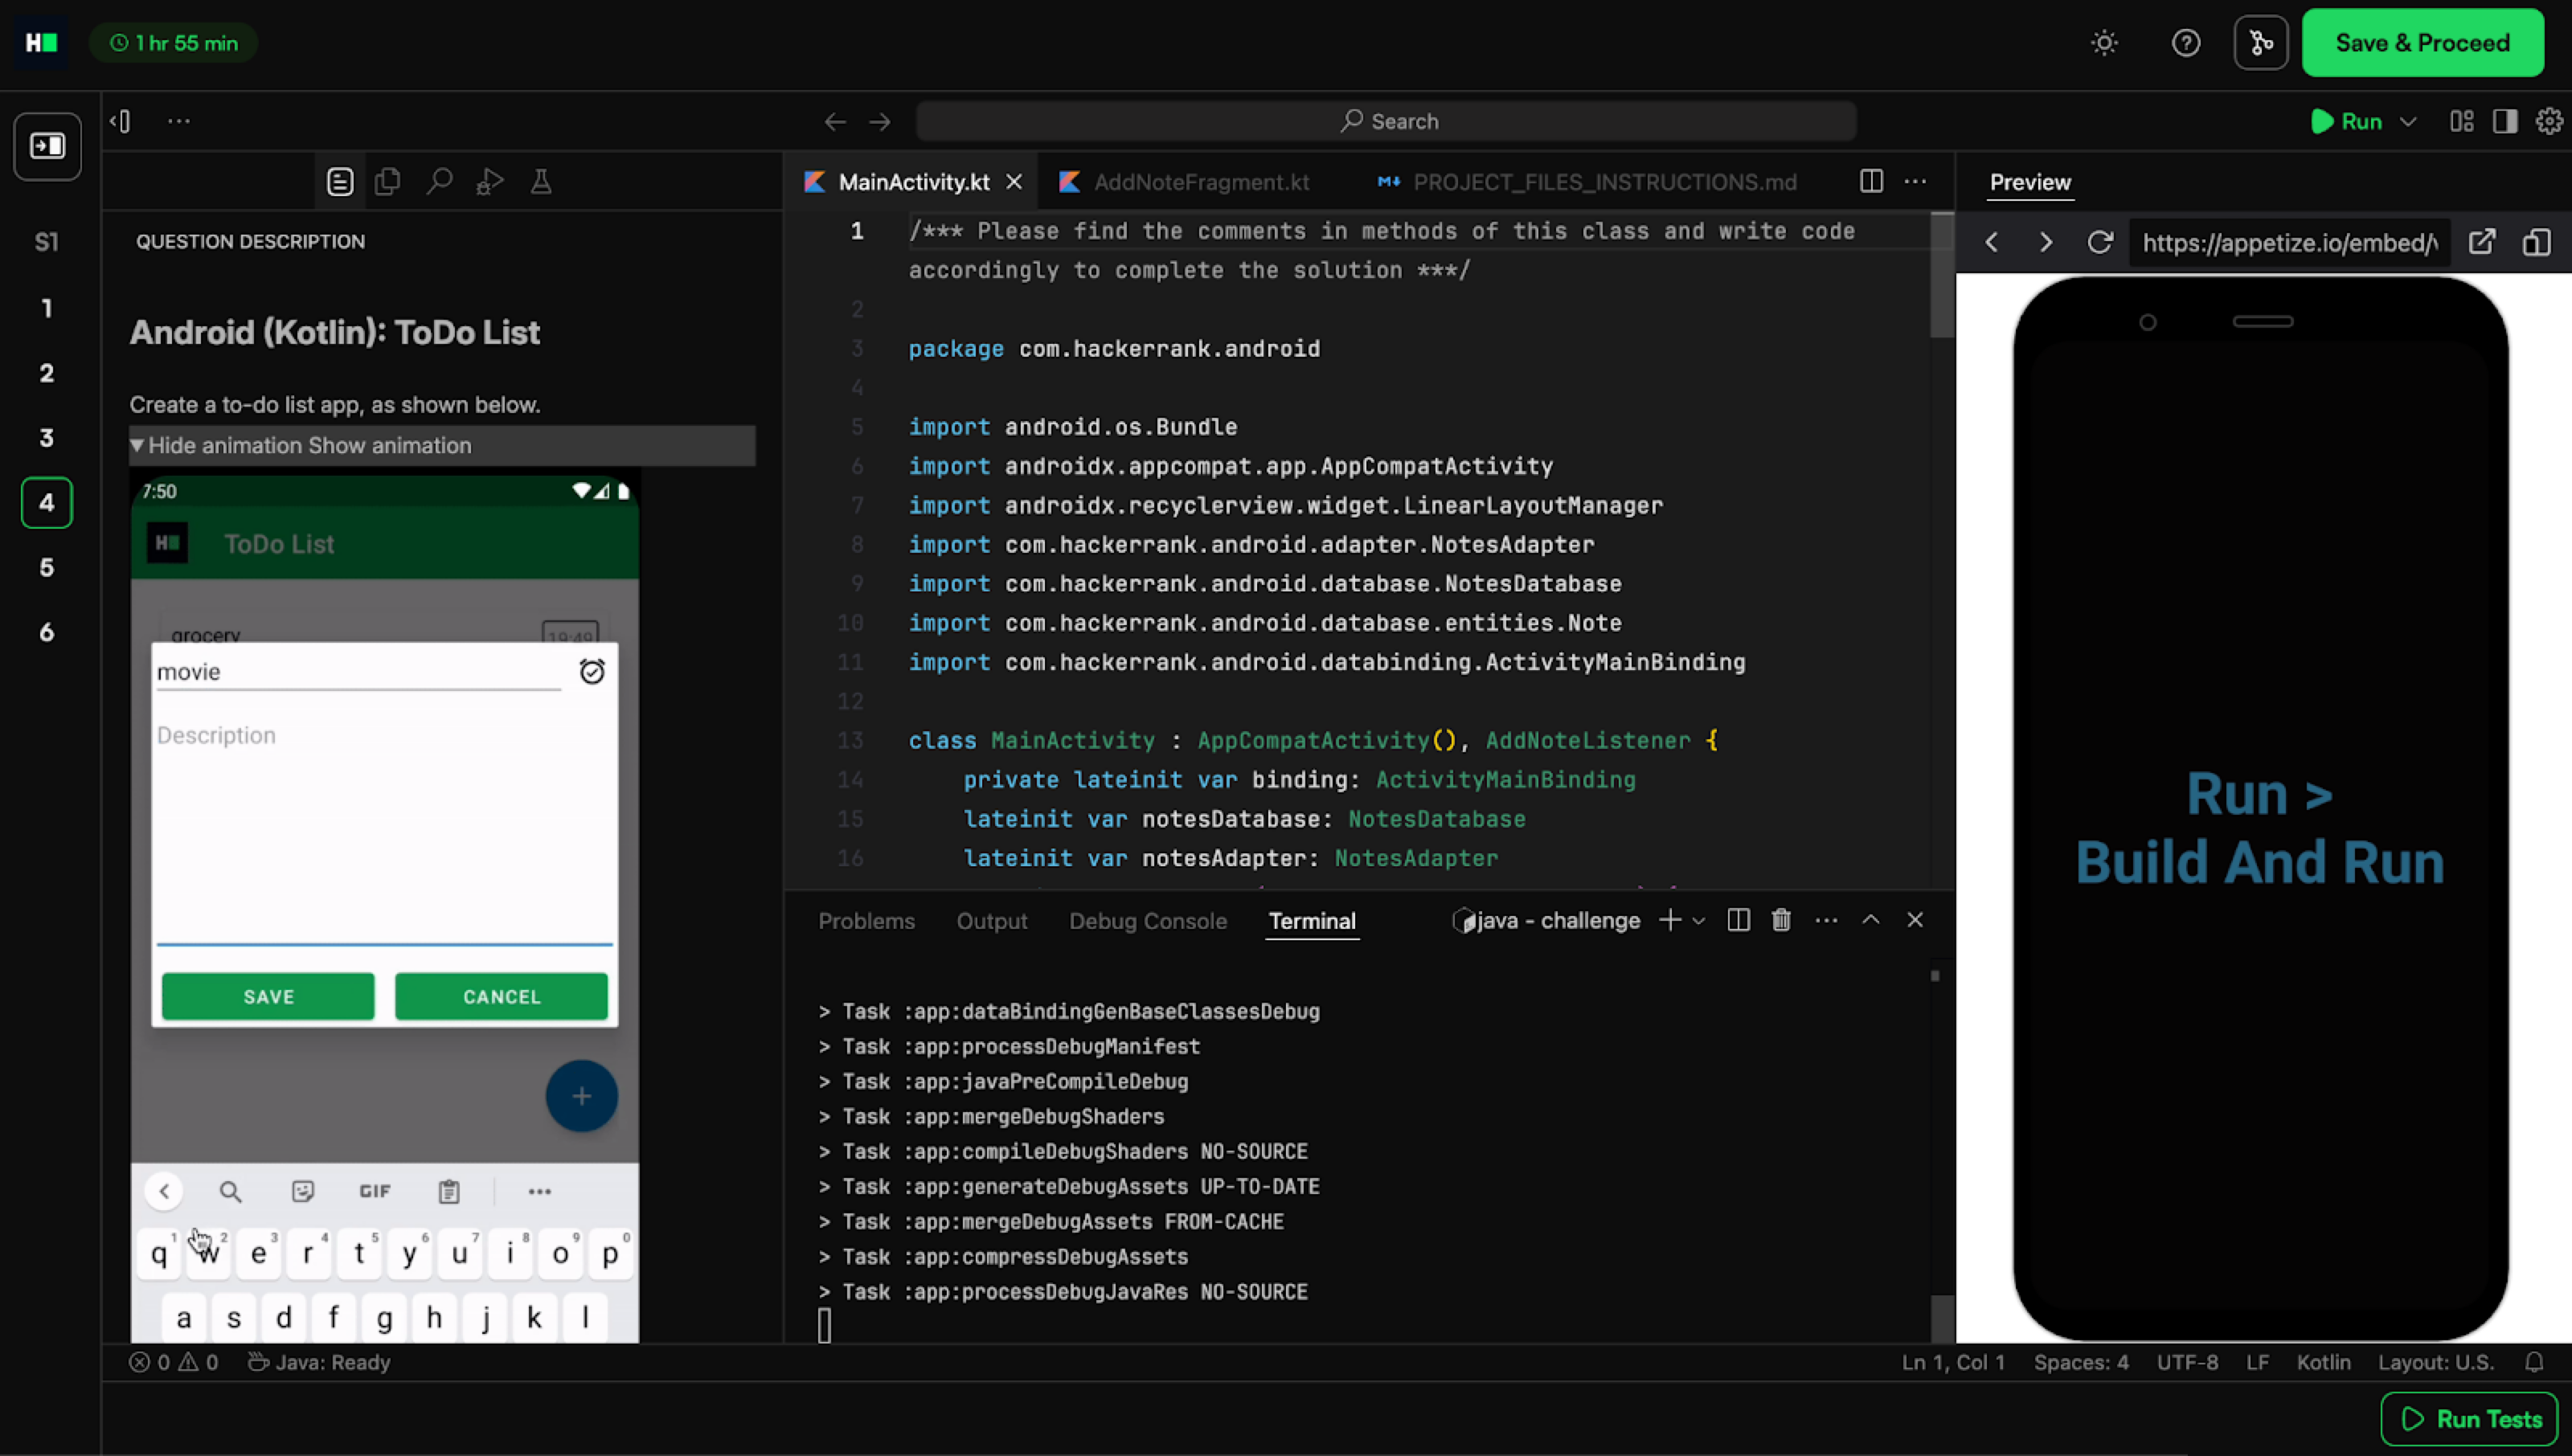
Environment setup and execution
For project-based questions:
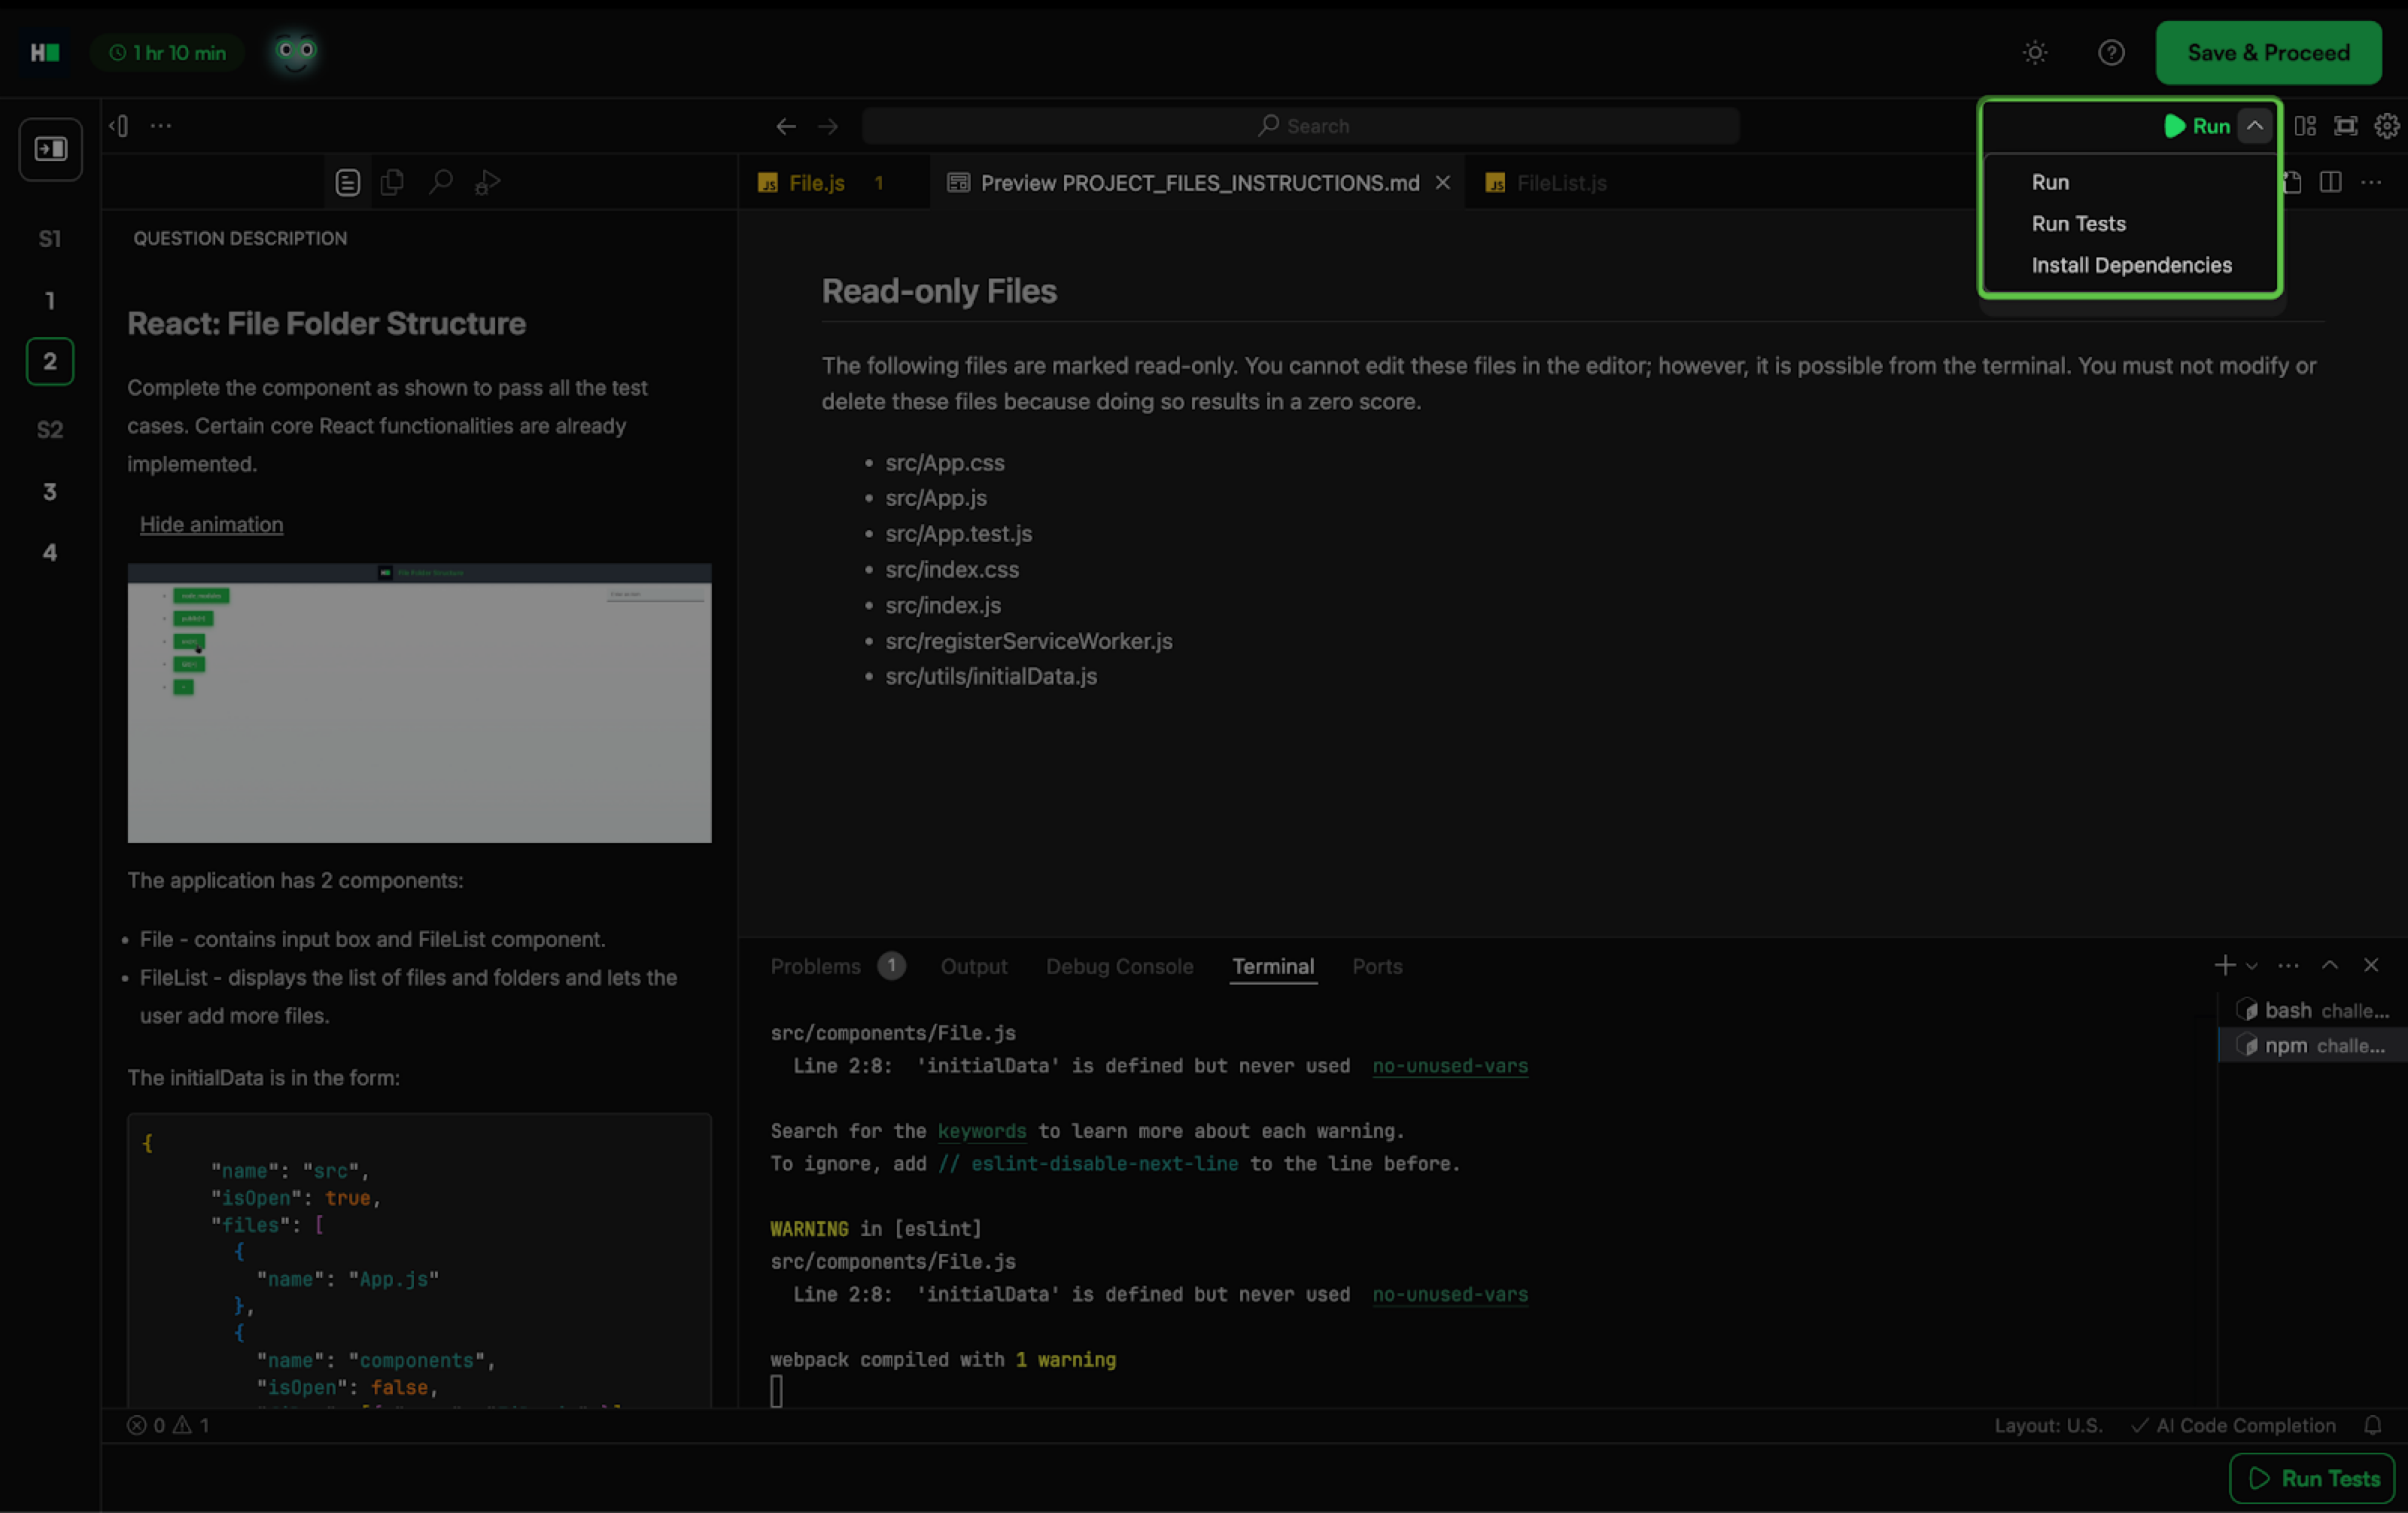
When a question loads, the IDE automatically starts the installation process. Do not close or interrupt it. If the process stops, select Run dropdown and click Install Dependencies to install them manually.
Click on Run to run the application.
Click on Run Tests to execute test cases against your code.
For mobile developer questions, the setup works for both Android and iOS.
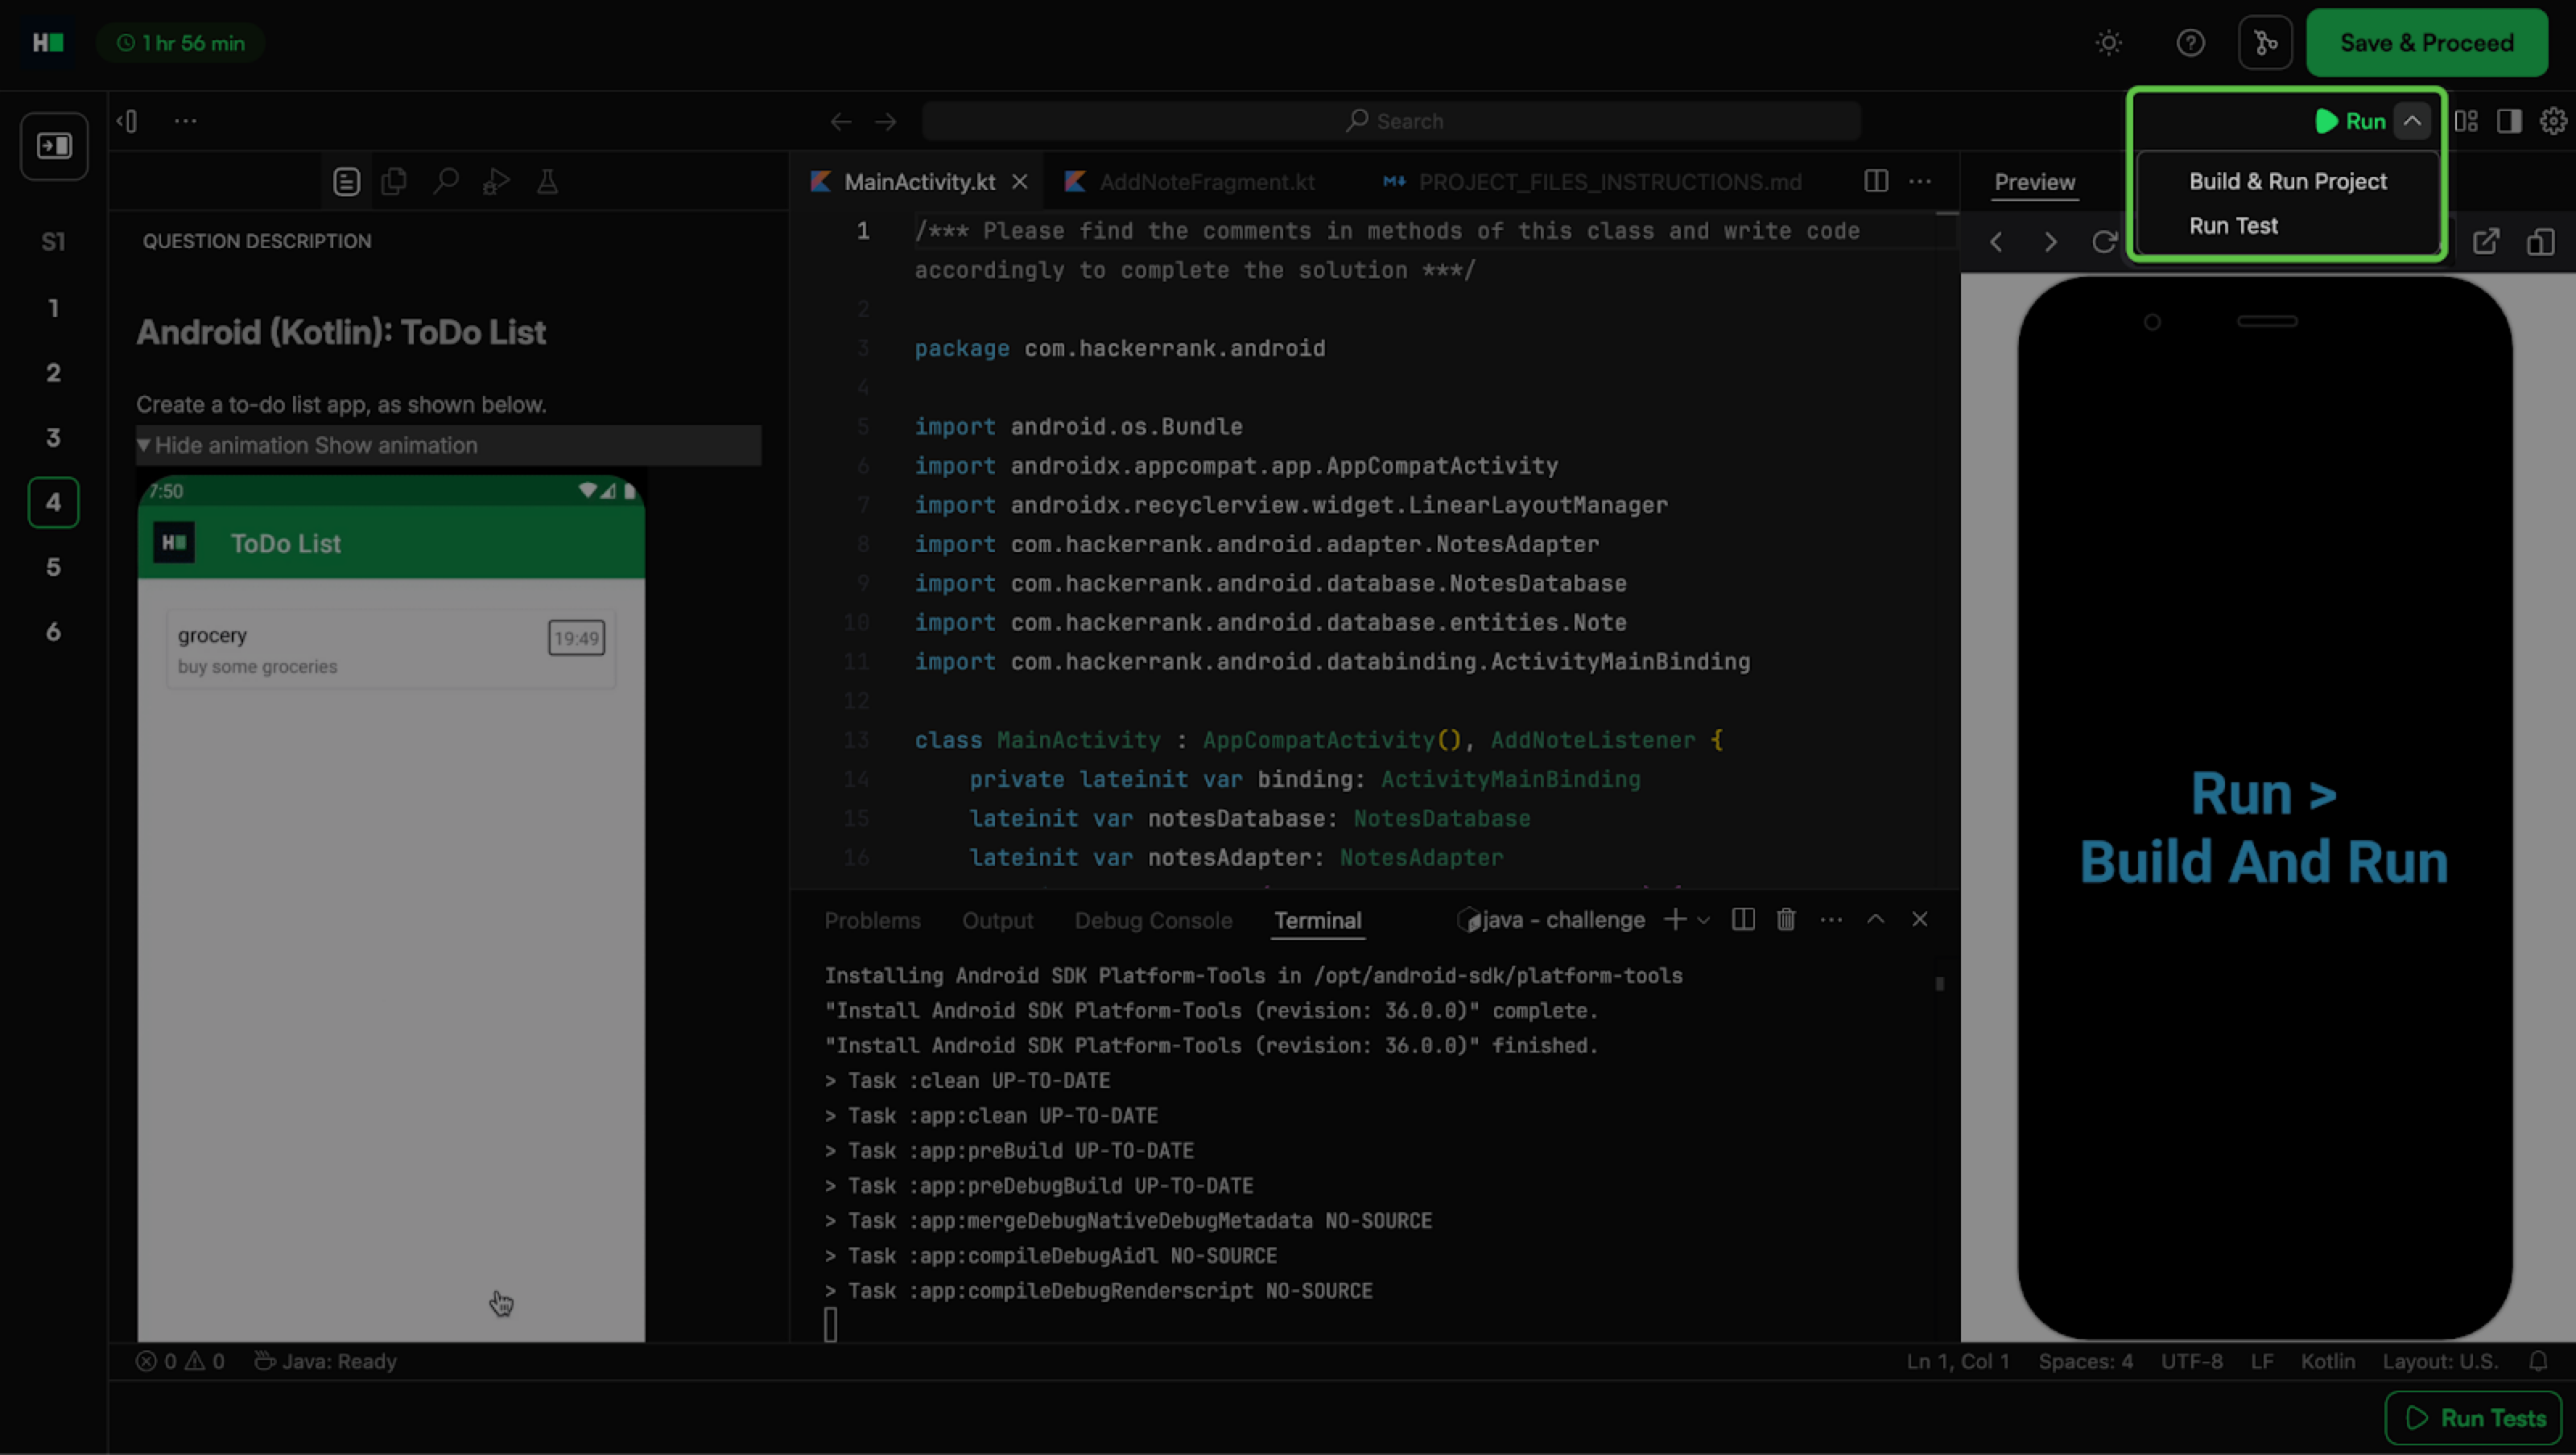
Click on Build & Run Project to preview the mobile application.
Click on Run Test to execute test cases against your code.
Preview panel
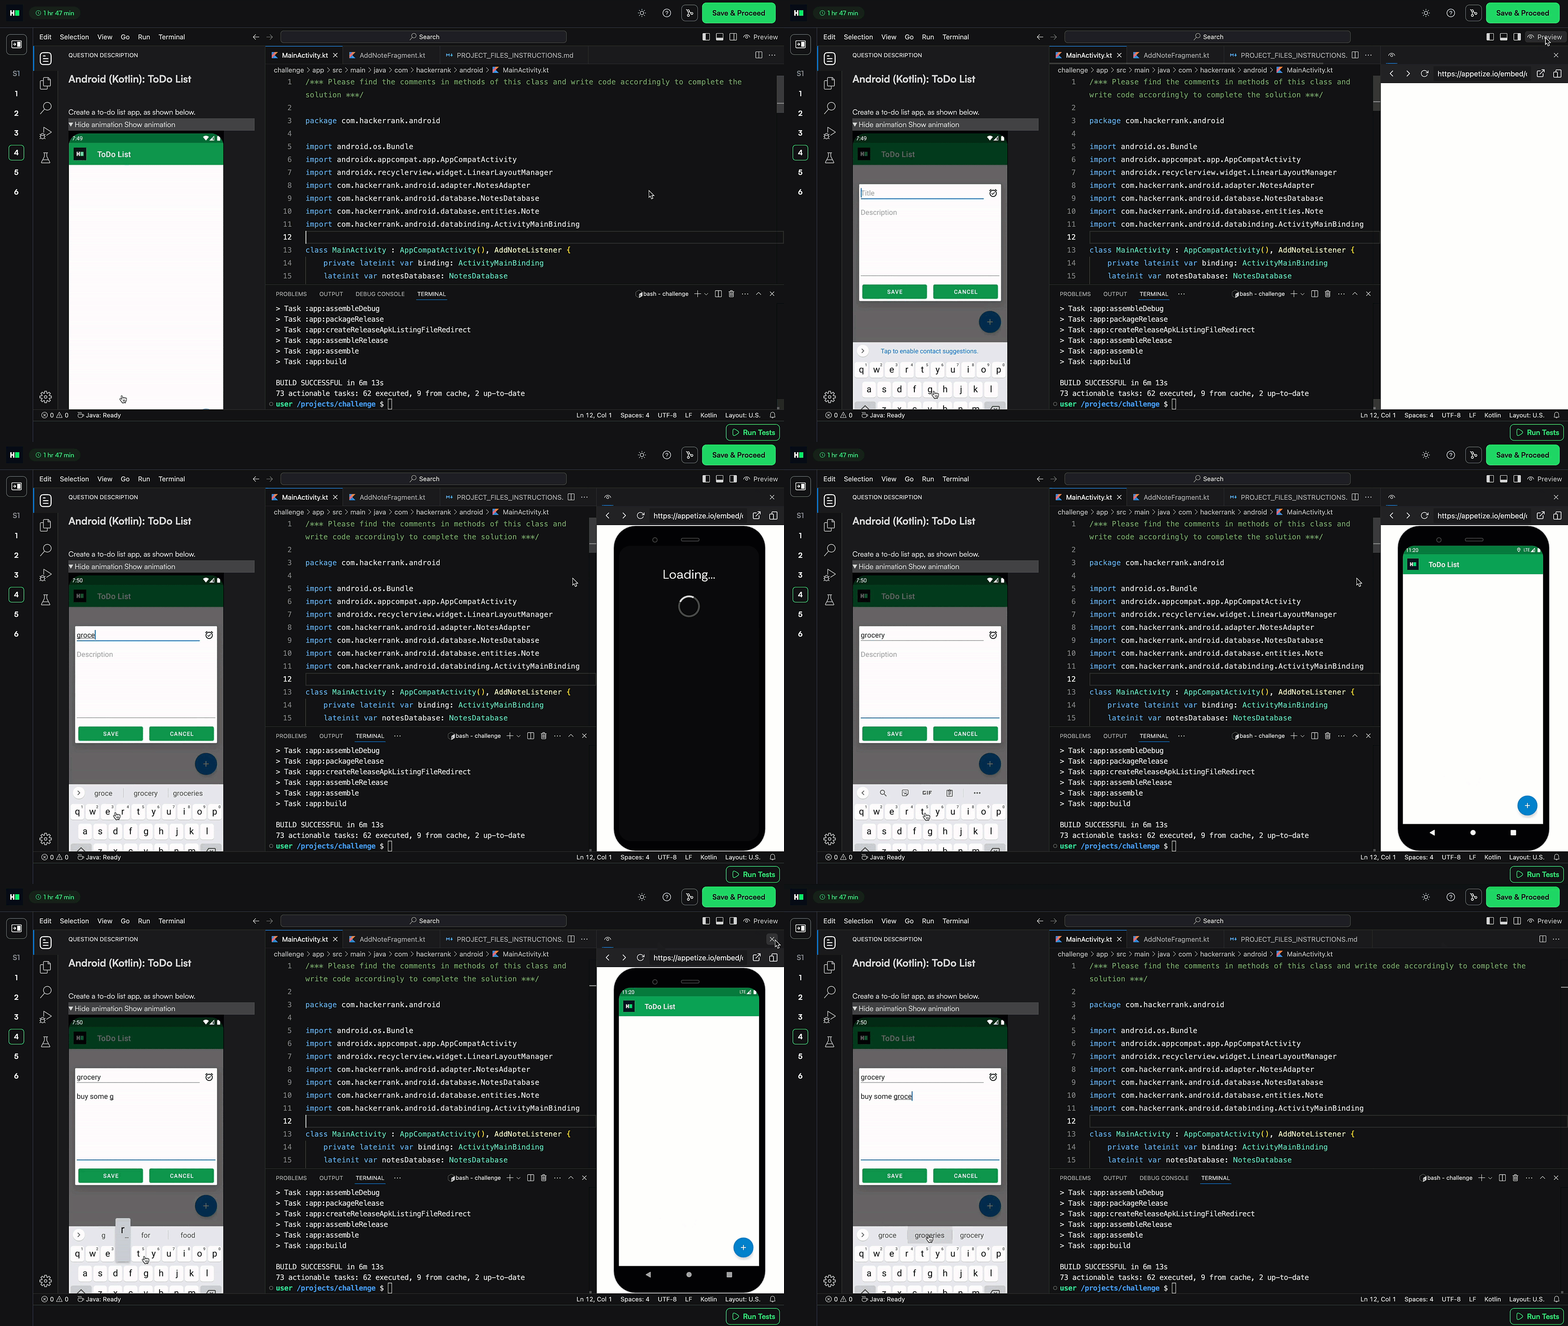
For mobile projects, click Build & Run Project to open the preview.
For other project types, click Run to open the preview.
Alternatively, click Toggle Secondary Sidebar Visibility next to the Run button to display the preview panel.
Note: You may need to allow pop-ups for the application to launch in a new tab, enabling you to see changes in real time.
AI Assistant (If applicable): The AI Assistant tab in the preview pane lets you ask questions and receive quick guidance. This feature applies only to AI-supported tests. For more information, see 📄 AI Assistant in Tests.
IDE Layout: You can hide the question description to expand the coding space further.
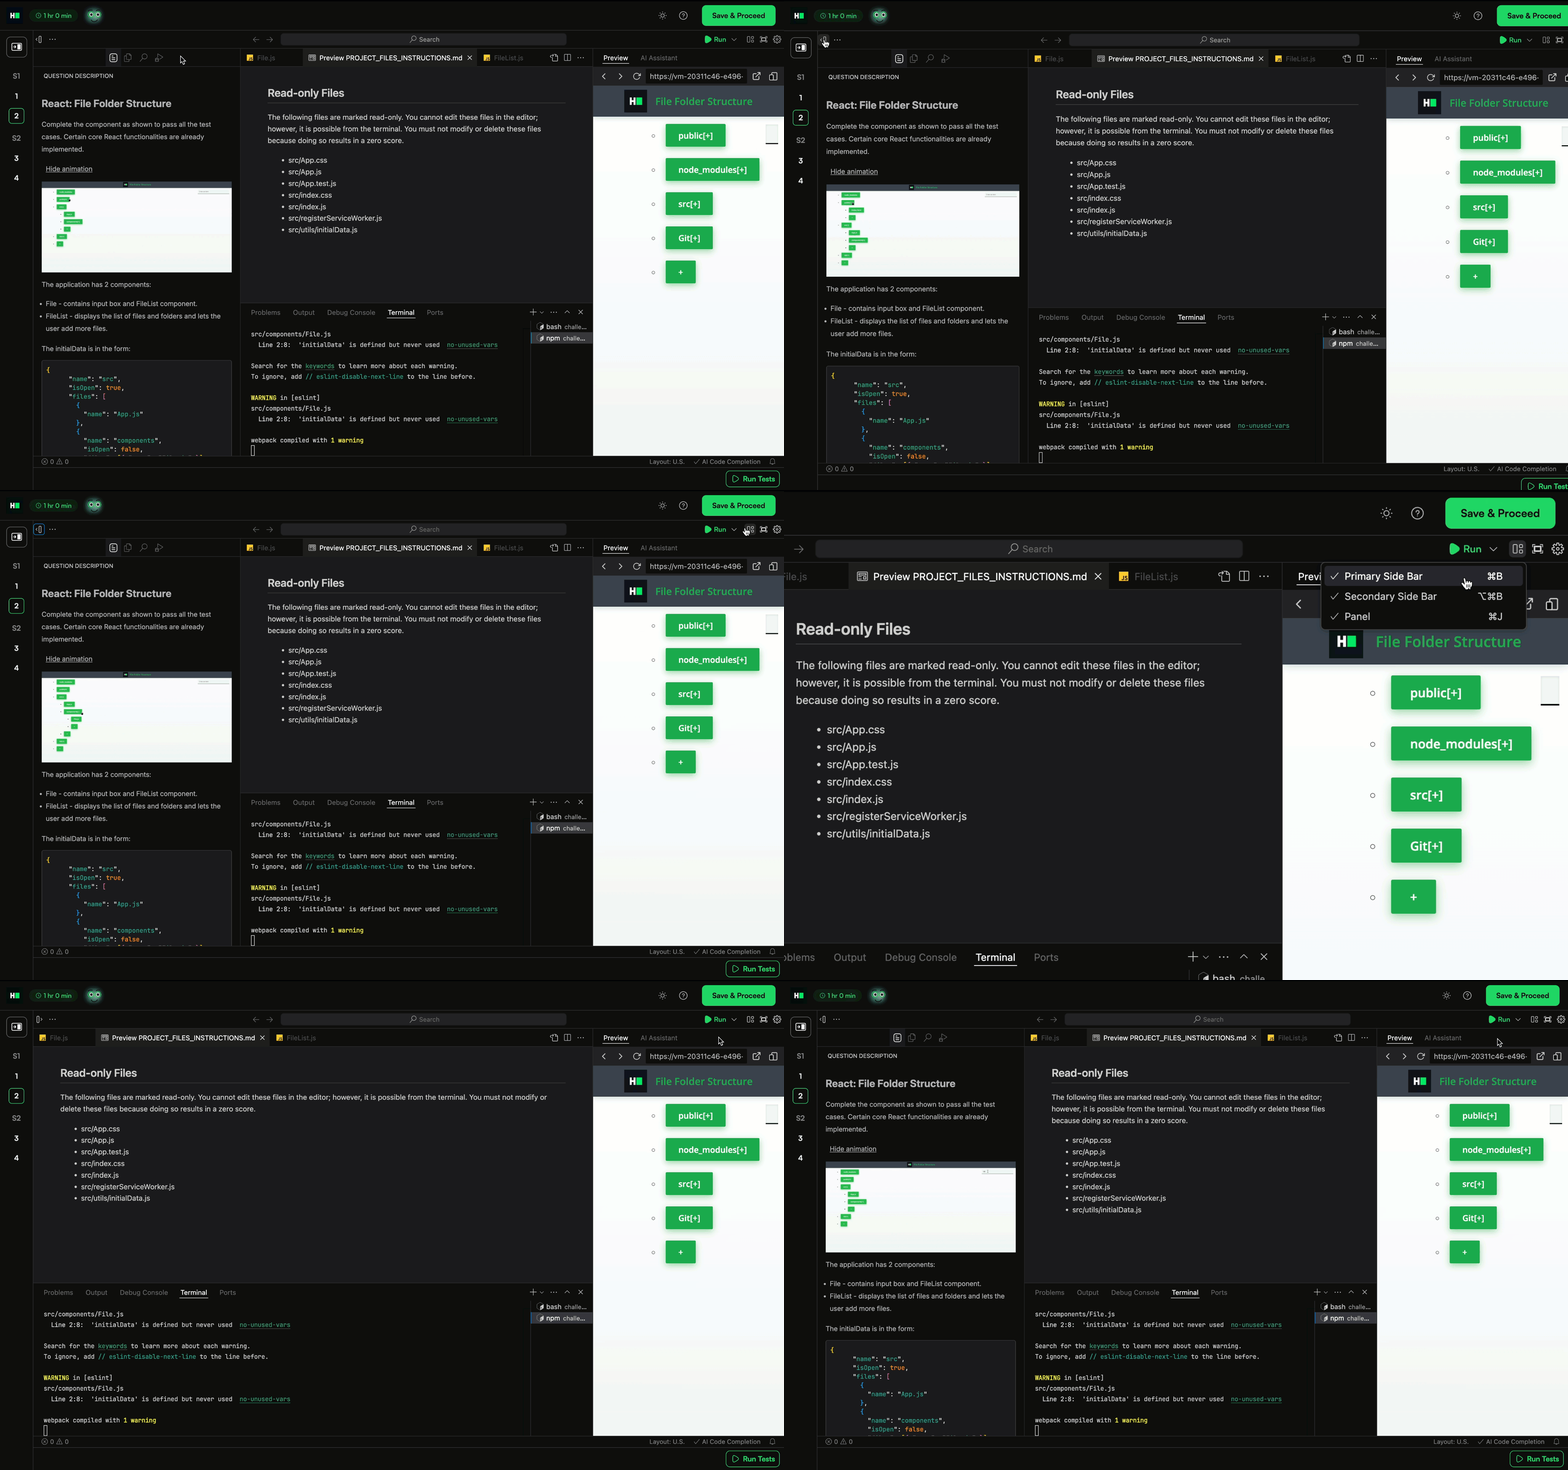
Terminal: To open the terminal, click Terminal in the menu bar.
Debugging: You can use the built-in debugger in the IDE to trace errors and inspect variables to debug the code and resolve issues efficiently. For more information, see 📄 Debugging in Projects and Code Repositories .
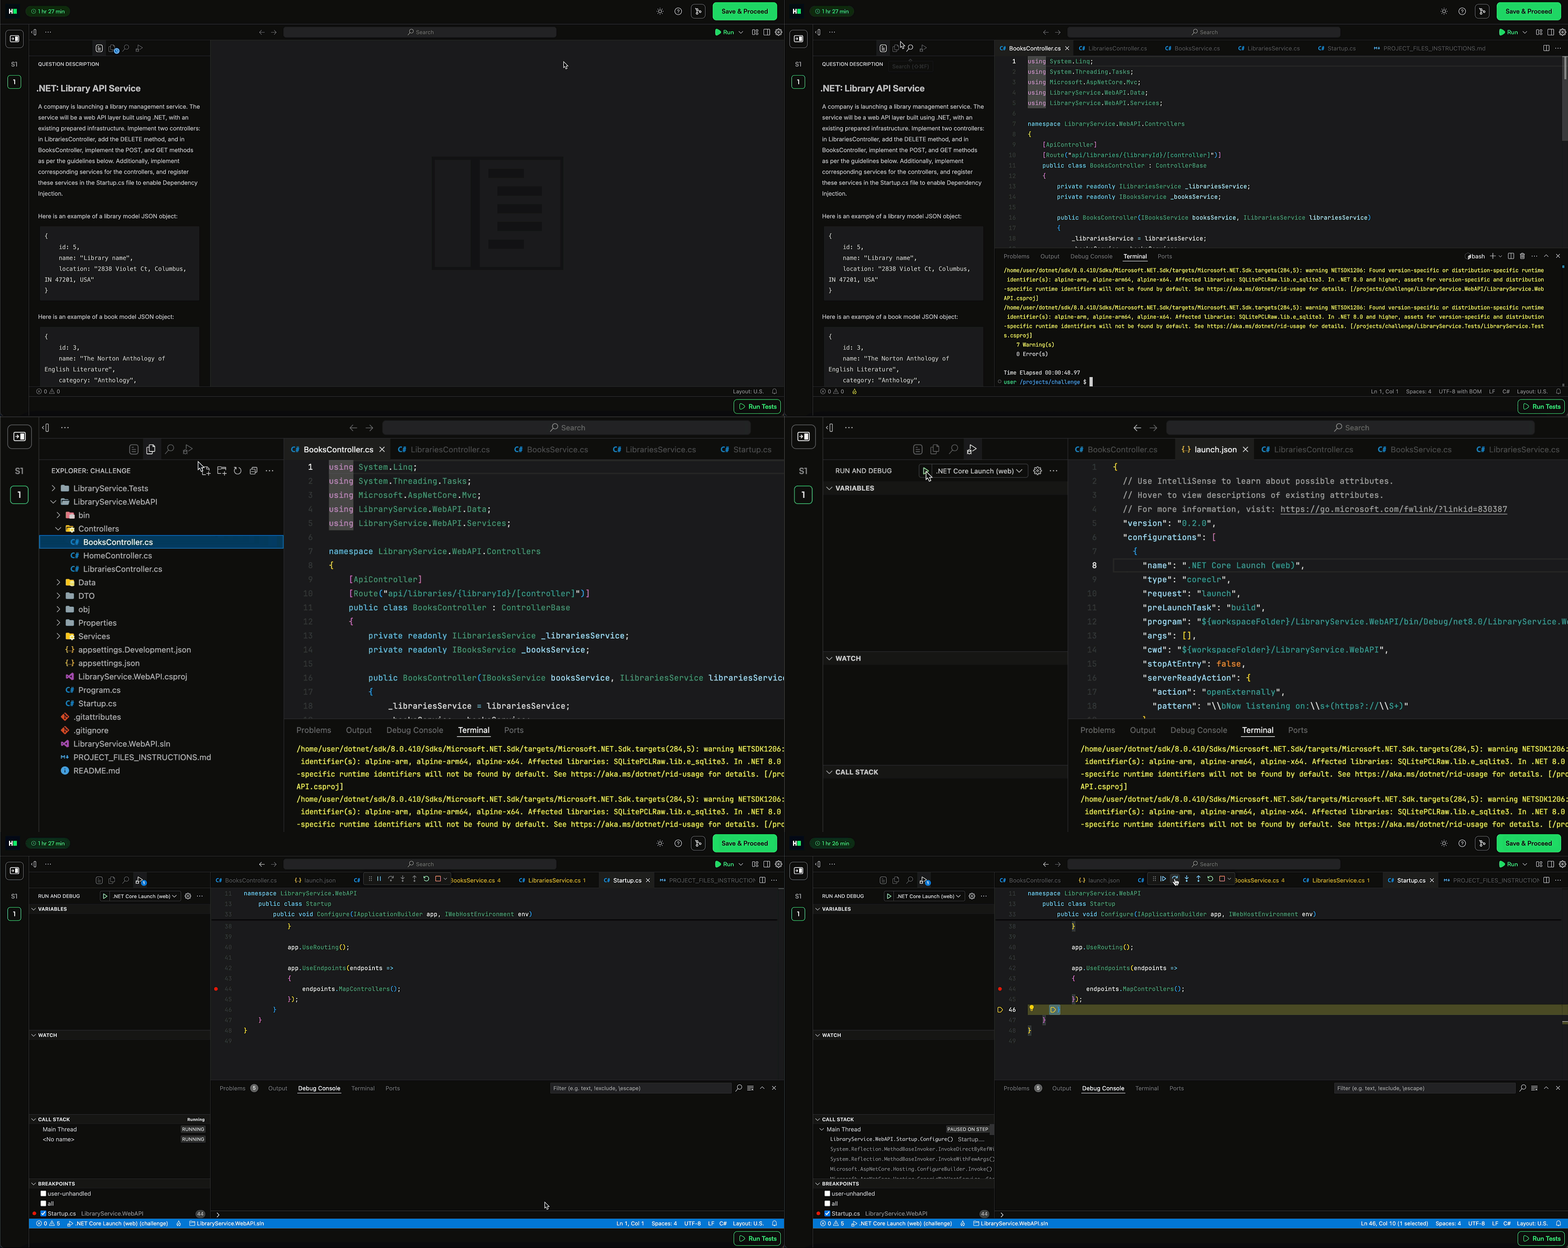
Submit: To submit your solution, click Submit in the bottom right corner.
You can revise and resubmit your answers as many times as needed before the test ends.
Note:
Avoid modifying IDs or classes of existing UI elements, as they are crucial for the unit tests.
If the total test time elapses, you will be automatically logged out. The most recent auto-saved version of your code is used for evaluation.
Retrieval-Augmented Generation (RAG) Question
When attempting a RAG question, you receive a limited number of Large Language Model (LLM) resources. These resources are allocated based on the expected complexity and requirements of the question.
You can manage your LLM resources in the following ways:
First-time login: When you log in for the first time, a notification appears indicating the total number of LLM resources available for the question.
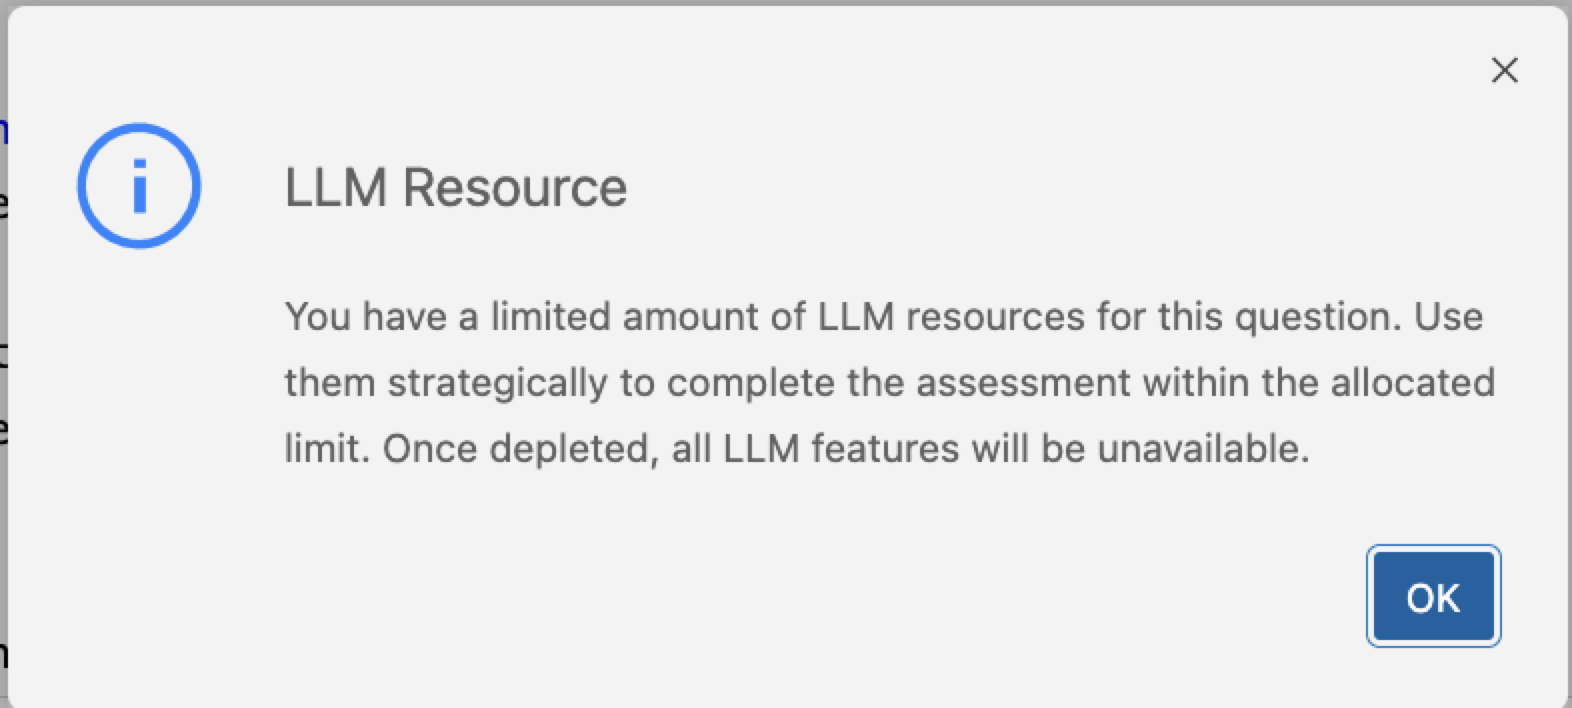
Track usage: Use the status bar at the bottom of the screen to monitor your remaining resources. Each interaction with the AI Assistant reduces your available resource count.

Request additional resources: If you use all available resources, select the link near the usage indicator to request more.
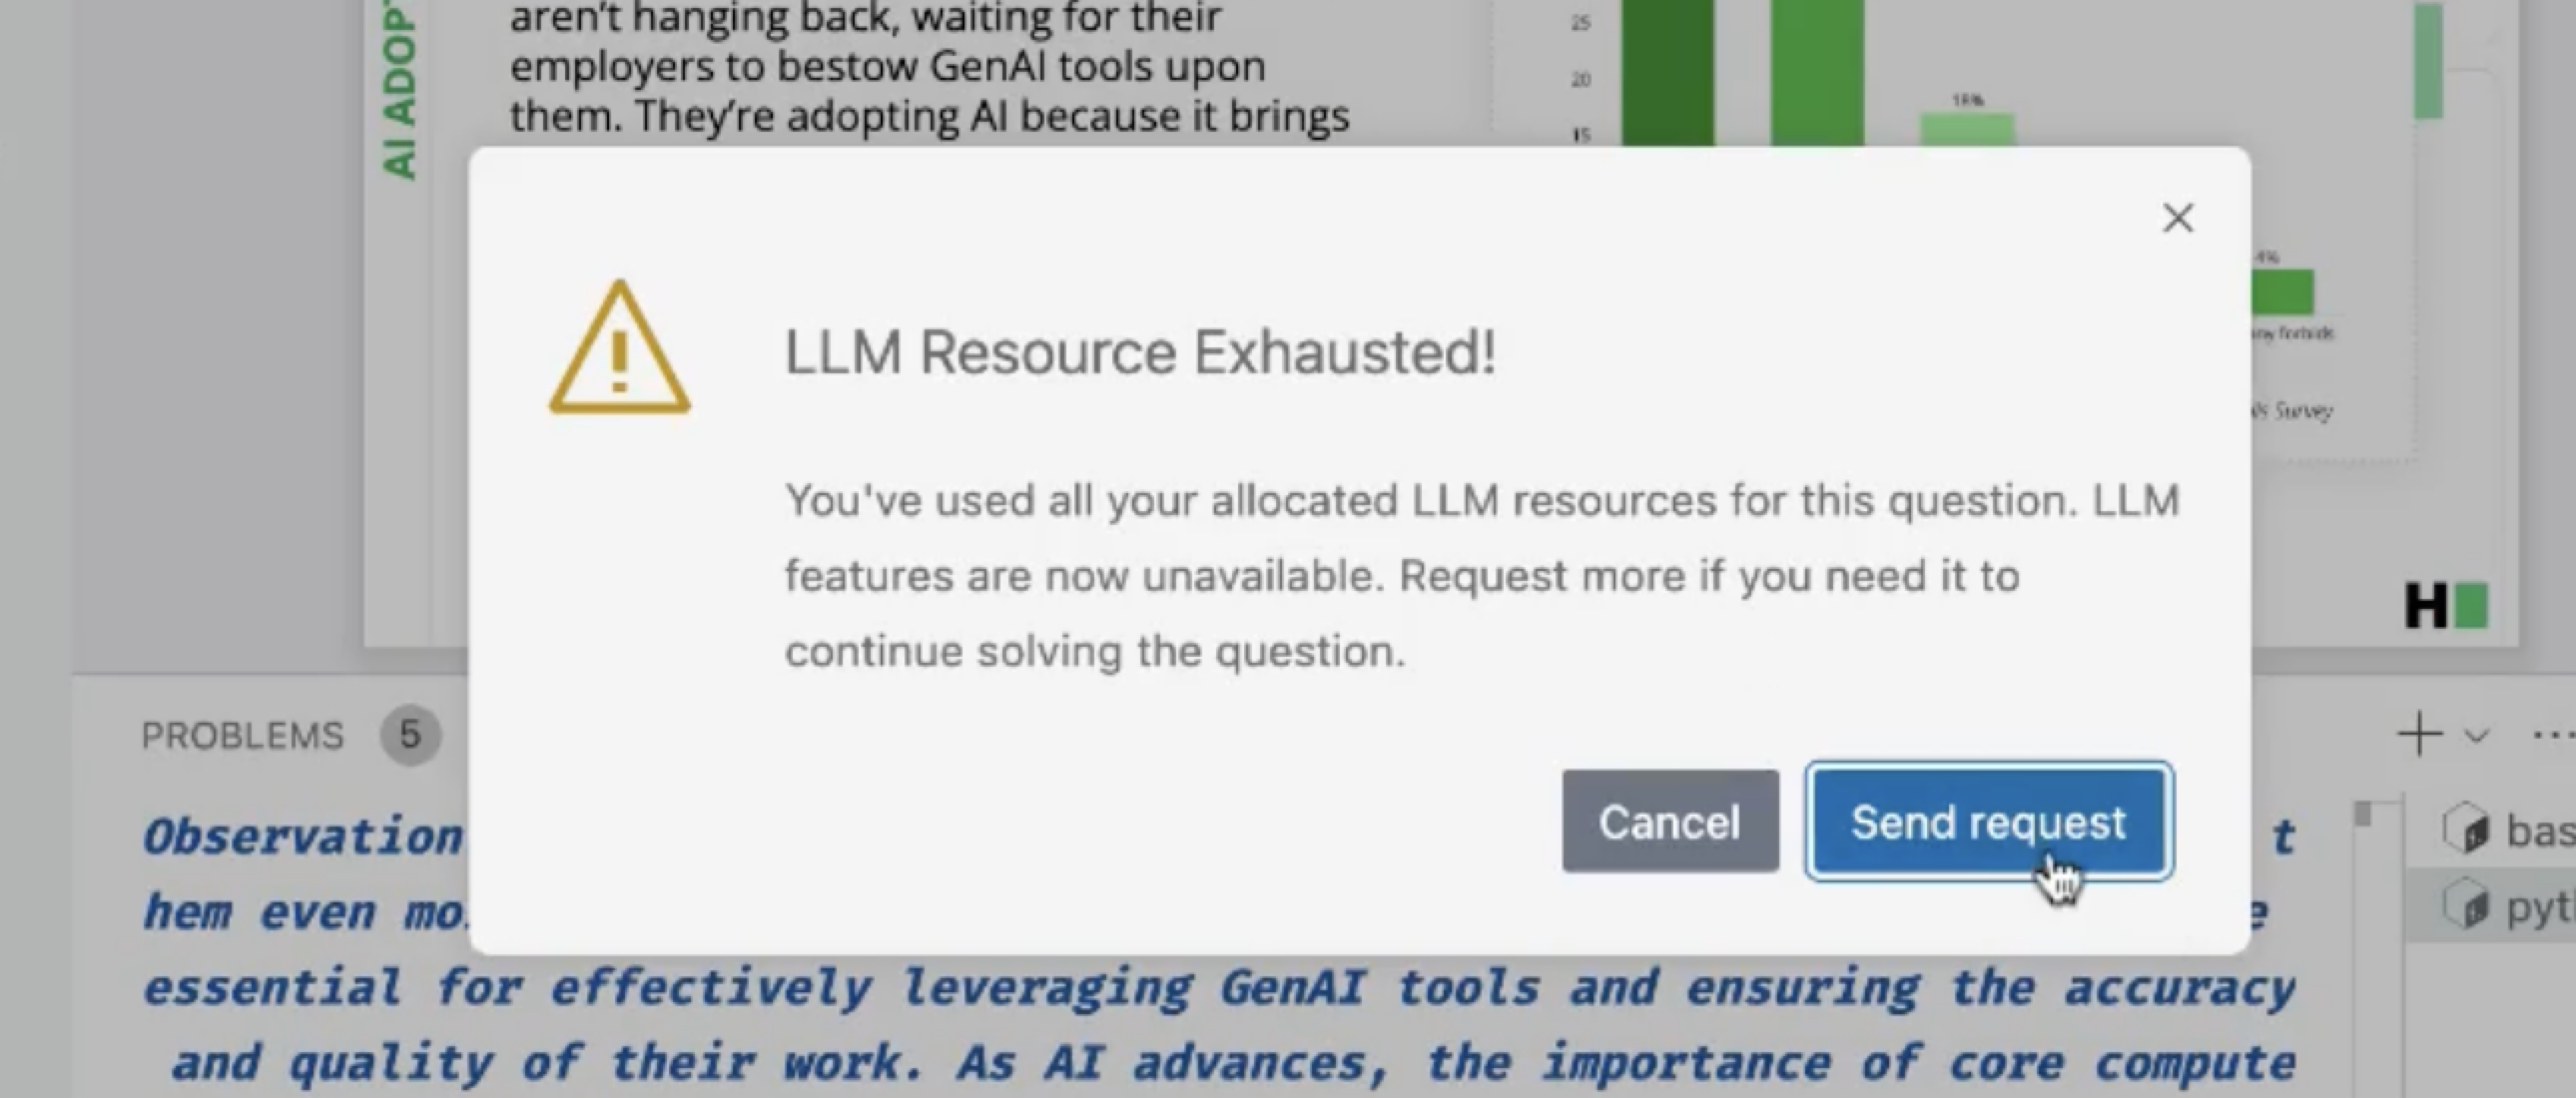
Note: Requesting additional resources does not affect your score. Use the AI Assistant efficiently to reduce the need for extra resources.